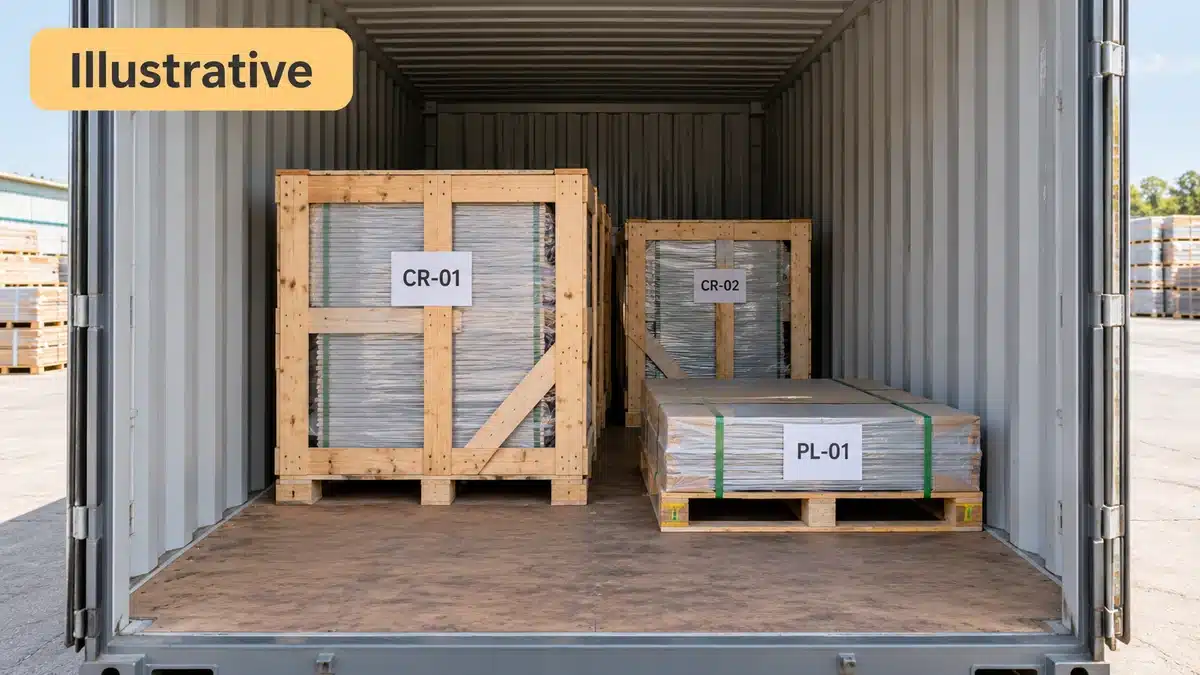
A container loading checklist records what enters a container, whether the equipment and packages are suitable, how the cargo is protected, and what evidence supports dispatch. For building materials, use it before loading, during placement and securing, and at final handoff. Resolve shortages, damaged packaging and unsafe arrangements while the shipment is still accessible.
The checklist below covers general building-material shipments such as tile, stone, cabinetry, windows, doors and sanitary ware. Adapt the checks to the actual packages, route and carrier instructions. The IMO ILO UNECE CTU Code provides packing and securing guidance; it is a non-mandatory code of practice, while applicable transport rules and cargo-specific requirements still govern the shipment.
Written by Winston, Project Director at Skyland Building · 10+ Years of Building Materials Experience
Updated October 2026 · 13-minute read
Container loading checklist with 15 practical checks
Use this table as the starting point for a shipment-specific inspection record. Mark each check Pass, Hold or Not applicable, add evidence references, and identify the reviewer. Explain every Not applicable result. A missing answer remains open; it should not become a pass simply because the container is ready to leave.
| Check | What to verify | Record to retain |
|---|---|---|
| 1 Shipment basis | Booking, destination, released order and packing-list revision agree. | Booking and order references |
| 2 Container identity | Actual container number and equipment type match the booking. | Number and exterior photo |
| 3 Container condition | Approval and examination status confirmed; floor, walls, roof, doors and securing points are serviceable. | Inspection notes and photos |
| 4 Cleanliness and dryness | No unexplained residue, odor, pests, standing water or wet surfaces. | Condition record |
| 5 Cargo reconciliation | Package IDs, physical counts, contents and accessories match the released list. | Checked packing register |
| 6 Package condition | Crates, pallets and cartons are sound; handling and stacking instructions are available. | Package checks and labels |
| 7 Weight and fit | Package dimensions, total cargo mass, floor support and route limits are reviewed. | Loading plan and weight data |
| 8 Loading controls | Equipment, access, operators and stop-work responsibility suit the task. | Site loading procedure |
| 9 Placement sequence | Actual package positions follow the accepted plan and receiving needs. | Position or sequence record |
| 10 Fragile protection | Stacking, separators and contact points protect the material and finish. | Protection photos |
| 11 Cargo securing | Blocking, bracing and restraints address movement without damaging packages. | Securing review |
| 12 Moisture protection | Cargo and packing are dry; protection suits the material and route. | Moisture-control notes |
| 13 Final reconciliation | Loaded IDs and counts agree with the final list; exceptions are resolved. | Final list and exception log |
| 14 Closure and seal | Doors close correctly; required seal is fitted and its identifier recorded. | Door, container and seal photos |
| 15 Dispatch handoff | Release authority, documents, VGM responsibility and submission deadline are confirmed. | Release and handoff record |
Hold the affected loading or release activity when identity, quantity, package condition, container suitability or safe securing is unresolved. Obtain the required correction and approval before proceeding. Keep the person making the release decision separate from an unsigned checklist with no clear owner.
Before loading confirm the shipment and equipment
Reconcile packages against the released order
Start with the purchase order, current product schedule, approved references and packing register. Check the actual handling units rather than copying expected factory quantities. Keep tile batch references, window or door opening numbers, cabinet sets and fixture accessories linked to the relevant package IDs. Record partial quantities and approved substitutions explicitly.
Use the building materials packing and labeling guide to align package labels with the register. Labels should preserve product identity while identifying the project area and handling needs. Reconcile separately packed hardware with its parent assembly so that a complete main crate does not hide a missing accessory carton.
Product acceptance and loading verification have different purposes. Complete the agreed pre-shipment inspection checklist before released packages are staged. A loading count and external packaging check do not establish every product dimension, performance result or concealed condition.
Inspect the empty container before accepting it
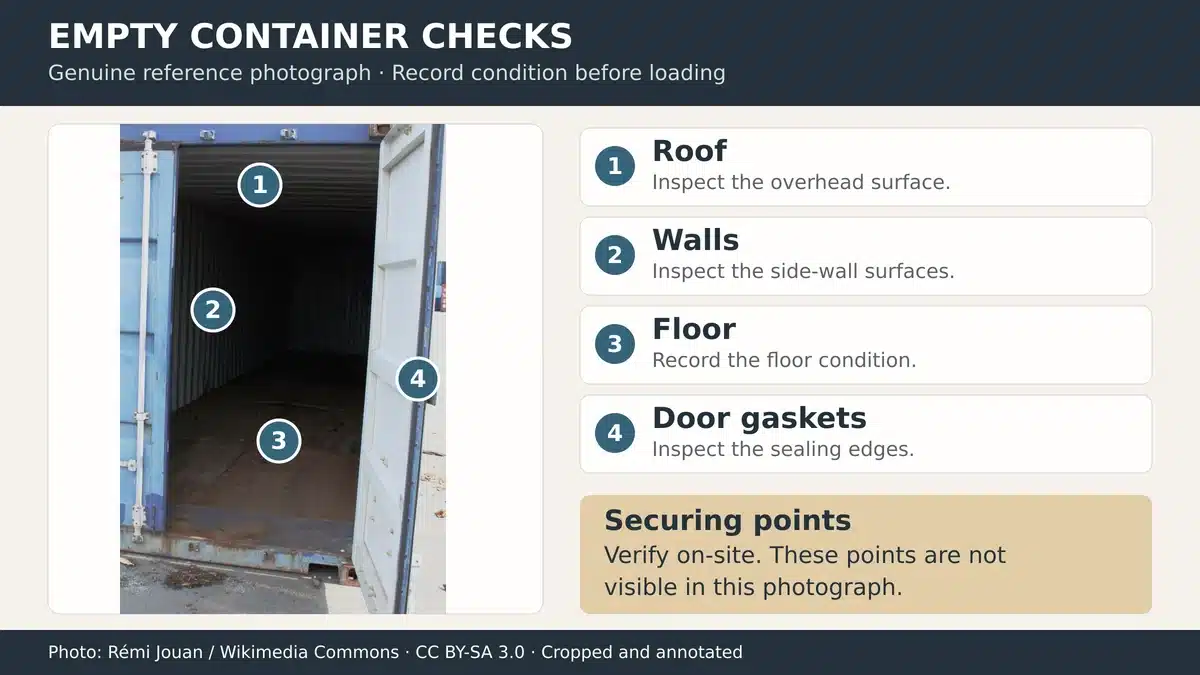
Record the container number and inspect visible structural condition, floor, roof, door hardware, gaskets and securing points. Check for protrusions, residue, unusual odors, pests and wet areas. Photograph defects before packages hide them. Record the CSC safety approval plate’s maximum gross mass and confirm the container’s examination status with the operator, using the next examination date or applicable Approved Continuous Examination Program (ACEP). Escalate missing, unreadable or uncertain approval information before loading. Refer uncertain damage or securing-point condition to the operator rather than treating a visual check as an engineering assessment.
Replace an unsuitable container or obtain the required corrective action before loading. Keep the acceptance record with the shipment file. Inspection should follow the site access and safety procedure, including any entry controls; the article checklist is not an instruction to enter or close a container around an inspector.
Review weight fit and loading equipment limits
Use verified external package dimensions and gross weights. Check the door opening, usable space and room needed for handling and securing. Review total cargo mass against the actual equipment and route restrictions. A volume calculation alone can miss a pallet that cannot pass through the doors or leaves no workable securing space.
Total payload compliance does not resolve concentrated floor loading. Review dense tile pallets, stone supports and other small bearing areas with the operator. Have the responsible planner confirm floor support, load distribution and the loaded center of gravity. Check handling-equipment capacity and road or rail limits separately; do not apply one universal container capacity to every shipment.
Connect the loading date to the construction procurement schedule, carrier cutoffs and site receiving date. Confirm access, equipment and staging arrangements with the destination team before the shipment is built around an unloading sequence that the site cannot use.
During loading follow the plan and protect the materials
Keep placement and package identity traceable
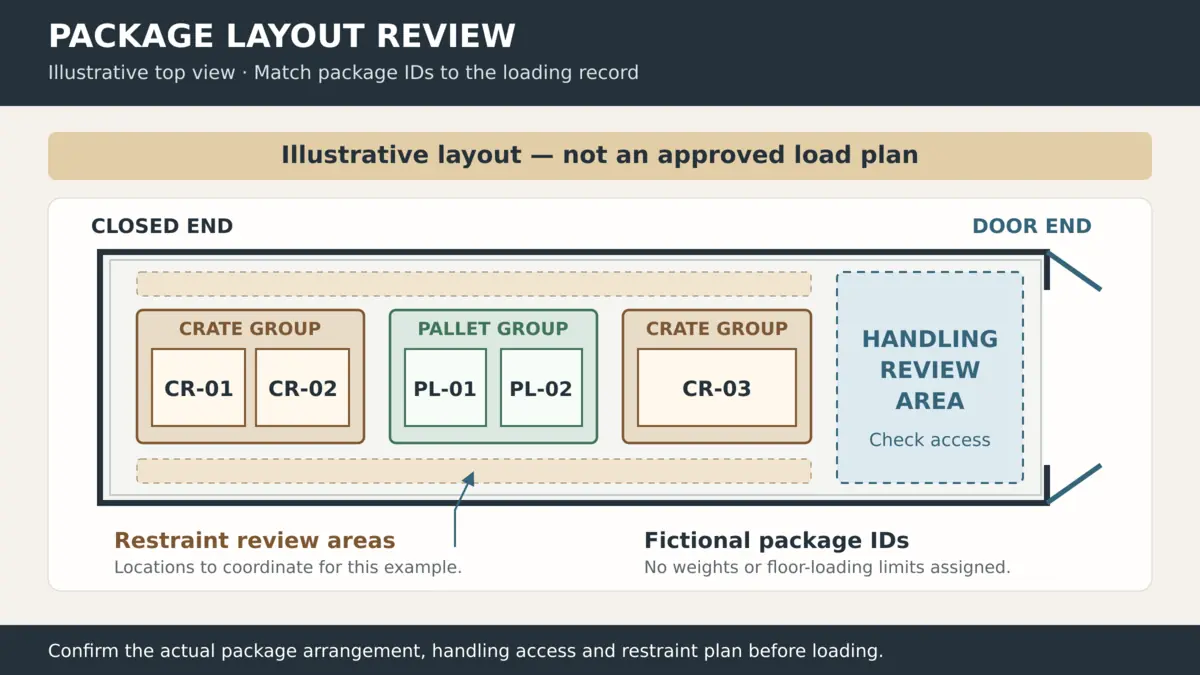
Follow the accepted loading sequence and record which package groups enter each part of the container. Keep heavy units in their planned supported positions and preserve the approved handling orientation of fragile packages. Check the actual package weights and dimensions when a supplier changes a pallet, crate or bundle. Revise the plan before continuing if the change affects balance, fit or access.
For mixed supplier arrivals, consolidated shipping for building materials depends on a reconciled receiving register. Separate packages awaiting approval from cargo released for loading. An item arriving at the warehouse does not automatically belong in the current container.
Check stack strength contact points and restraints
A lower package must be able to carry the intended upper load. Follow documented stackability and lifting instructions, protect edges and finishes, and keep incompatible packages apart. Crates and racks for glass or stone require supports and restraint suited to their geometry; a general carton arrangement is not a substitute for that design.
The responsible packer should confirm that blocking, bracing and restraints address sliding and tipping. Check attachment points, restraint condition and protected contact areas. Do not improvise concentrated reactions against container walls or assume extra straps make an arrangement adequate. Keep the loading area clear of people who would otherwise be asked to steady a moving package by hand.
Before the door-end load is completed, review clearance and the receiving sequence. The doors should close without compressing the cargo, and the last packages should not form an unstable face that could move toward the person opening the container. Record any special unloading precautions with the package locations.
Control moisture at the cargo and packing stage
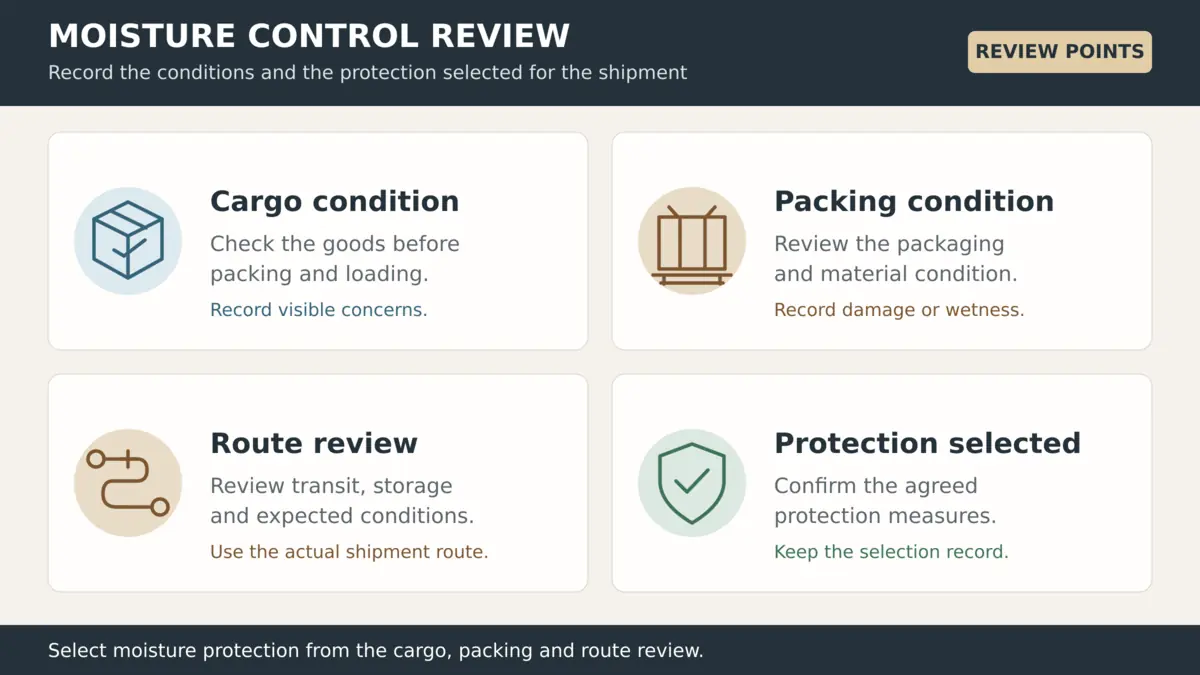
Start with dry cargo, packaging and dunnage, and keep staged materials protected from rain. Select wrapping, separation and any desiccants for the product and route. Moisture-sensitive cabinet panels or finishes should not share unprotected contact with damp packing. Record observed moisture problems and correct them before enclosure; absorbers are not a substitute for loading dry materials.
Hapag-Lloyd’s container packing guidance explains that ordinary small pressure-equalization openings are unsuitable for ventilation. Do not assume a standard dry container provides the airflow a cargo requires. Confirm ventilation or controlled-atmosphere needs with the carrier and product supplier instead of prescribing one treatment for every material.
Where raw-wood pallets, crates or dunnage are used, check the destination’s applicable ISPM 15 wood-packaging requirements. Confirm the treatment and marks that are actually required. Processed materials such as plywood have exclusions under the standard; neither every wood product nor every shipment requires the same treatment.
Before dispatch reconcile the load and release records
Build a loading photo record that can be checked
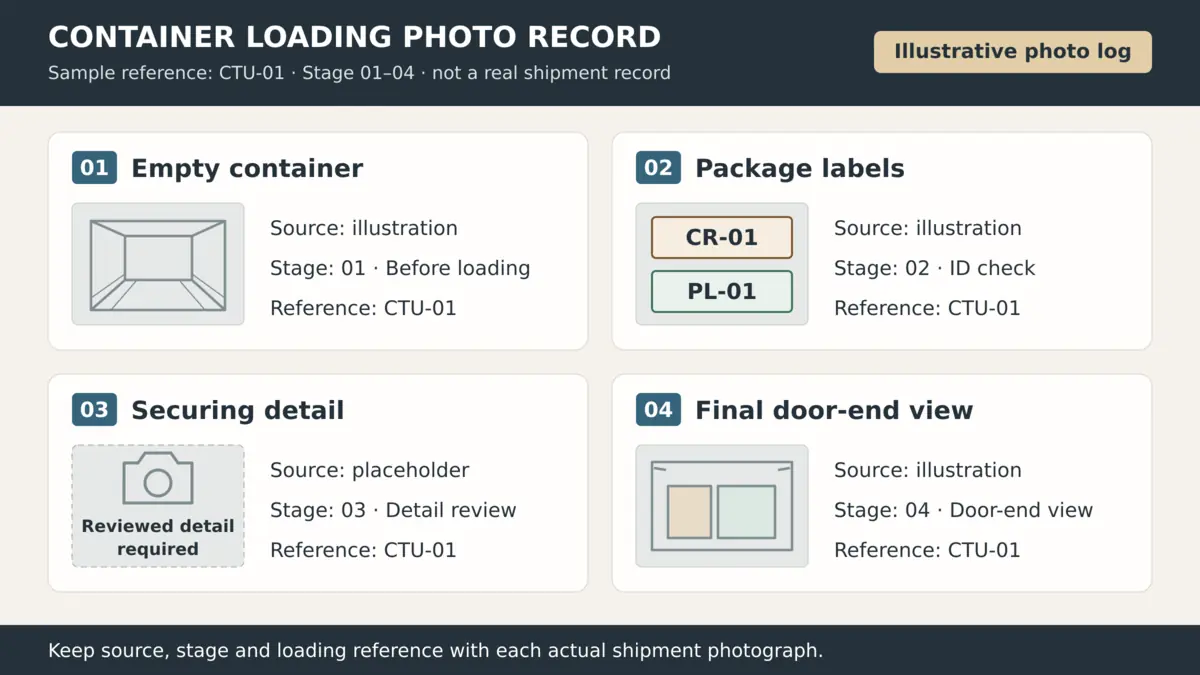
Take photographs while the relevant evidence is still visible. A useful sequence covers the empty container and its number, package labels and condition, key loading stages, protective contact points, restraint details, the final door-end arrangement, and the closed doors and seal. Include a wider context view before close-ups so that a reviewer can locate the item in the container.
Link photographs to the shipment reference, package ID, stage and inspection notes. Preserve original files in the shipment record and record who captured them. Images of a full container cannot replace physical counts, a checked packing list or a written exception decision. Avoid presenting a staged illustration as evidence from an actual shipment.
Record seal identity and manage the VGM deadline
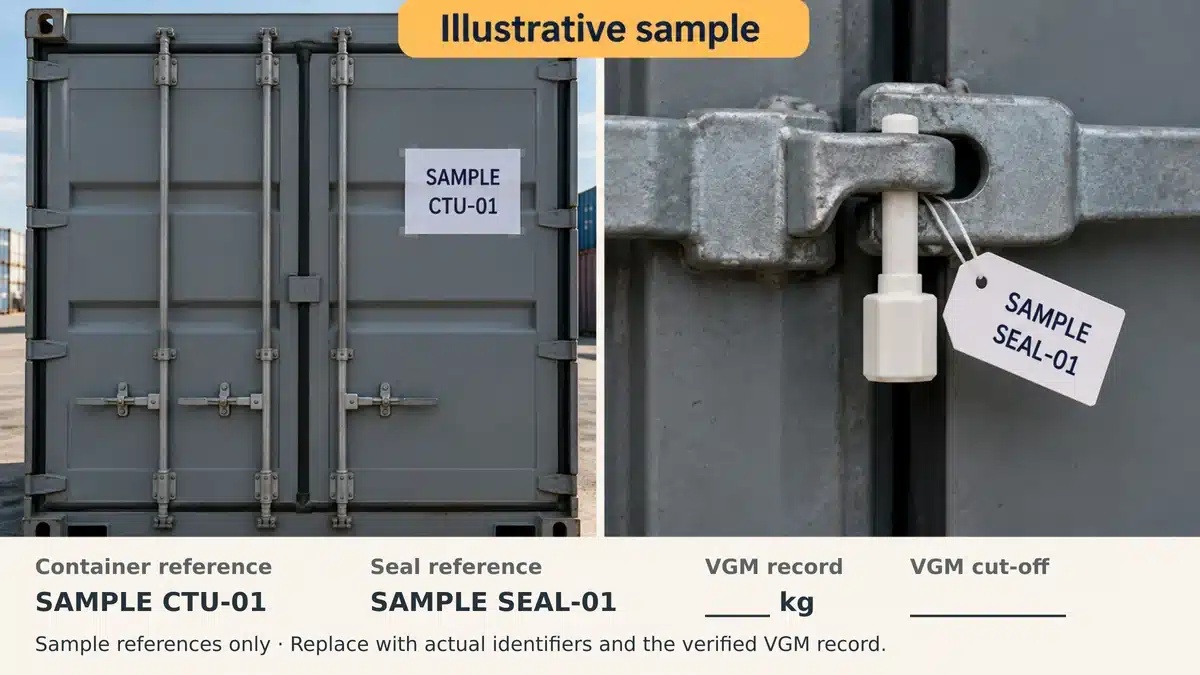
Finish the final count and condition review before closing the doors. Record the actual container and seal identifiers, verify them against the release documents, and retain readable photographs. If either identifier changes, update the affected records. A recorded seal identifies the closure event; it does not demonstrate that all contents were inspected or correctly secured.
For containers subject to SOLAS requirements, the shipper is responsible for documented verified gross mass. The IMO VGM guidance describes weighing the packed container or using an authority-approved method that includes cargo, packing, securing materials and container tare. A cargo-weight estimate alone is not the complete VGM.
Confirm who obtains and submits VGM and the carrier’s deadline. It must be available in time for vessel stowage planning; valid VGM is a condition for vessel loading, not an automatic right to be loaded. Where terminal weighing is arranged on the shipper’s behalf, agree the process and charges. Keep warehouse dispatch approval distinct from vessel-loading acceptance.
Close exceptions and brief the receiving team
Record shortages, visible damage, wet packaging, incorrect labels and deviations with package references, photographs, decisions and responsible reviewers. Use the non-conformance report template when the project procedure requires a formal corrective-action record. Reconcile replacements, removals and accepted deviations with the final packing list before release.
Give the receiving team the final list, package locations, loading photographs, release record and unloading instructions. Use the construction material transport checklist to connect the shipment with access, unloading equipment, storage and movement on site. Make unresolved delivery conditions visible to the person accepting the handoff.
Use different evidence for FCL and LCL shipments
For a dedicated FCL shipment, the loading record can cover the complete physical container from empty inspection to closure, subject to the agreed supervision scope. When several suppliers contribute cargo, identify which warehouse or packer controls the final plan and container record.
For LCL, the supplier’s handoff record usually covers its own packages delivered to the consolidator. It should show package identity, count, condition, dimensions and gross weights. Confirm separately who supervises the final shared-container packing, records the seal and provides VGM. Review the FCL vs LCL shipping guide before requesting container-wide evidence that a supplier does not control.
Minimum fields for a container loading inspection record
Keep one controlled record with the following fields. Add shipment-specific checks and acceptance criteria, and retain revisions instead of replacing the history of an exception.
| Field group | Details to record |
|---|---|
| Shipment basis | Project, booking, order references, loading location and date, list revision. |
| Equipment | Container number and type, approval and examination status, condition findings, acceptance decision. |
| Cargo | Package IDs, counts, contents references, dimensions and gross weights. |
| Loading evidence | Package positions, protection, securing checks and photo references. |
| Exceptions | Affected package, finding, corrective action, reviewer and disposition. |
| Closure and handoff | Final list, seal number, VGM arrangements, release authority and receiving instructions. |
Common container loading checklist mistakes
- Copying the planned carton count without checking the packages physically loaded.
- Treating an unreadable label, missing weight or unknown condition as a pass.
- Using a container volume calculation as proof of payload or floor suitability.
- Stacking fragile crates according to available space instead of documented package strength.
- Relying on desiccants while cargo or dunnage is already wet.
- Taking final photographs after labels and restraint details have been hidden.
- Recording a seal number without reconciling the final packing list and exceptions.
Container loading checklist questions
What is the difference between loading inspection and pre shipment inspection
Pre-shipment inspection checks the agreed product and order requirements before dispatch. Loading inspection checks the handling units, container, actual loaded count, arrangement, protection, securing evidence and closure. Define both scopes in the order; neither automatically includes all checks performed by the other.
Is a seven point container inspection enough
A structural or security inspection of the container is only part of a shipment review. Cargo identification, counts, packaging, handling, securing, moisture risks, documents and release evidence still need their own checks. Use the specific security program’s requirements when one applies, without presenting one checklist as universal certification.
Who should approve the completed checklist
Identify the responsible packer, inspector and release authority before loading. Technical acceptance, commercial deviations and transport declarations may have different decision owners. The form should show who reviewed each exception and who authorized the relevant release, rather than implying one signature covers every responsibility.
Can this checklist be used for dangerous goods
The general cargo fields can support traceability, but regulated goods require trained review. Confirm classification, declarations, packing, segregation and carrier acceptance under the applicable rules. The IMO IMDG Code overview explains the cargo-specific requirements for dangerous goods in packaged form; do not use this general checklist as a dangerous-goods packing procedure.
What should happen if an item fails a check
Mark the affected check Hold, identify the package or container condition, and obtain the required correction or authorized disposition. Update counts, photographs and documents when the load changes. Resume only when the applicable acceptance criteria and release responsibilities have been satisfied.
Coordinate the loading review for your building materials
Skyland Building’s Inspection and Packing service can help coordinate the agreed product checks, packaging requirements and inspection records. The Consolidation and Shipping service connects supplier arrivals, package information and shipment handoff around the selected scope. Confirm the required supervision and decision responsibilities when arranging the shipment.
Share your package list and delivery requirements with material categories, package dimensions and weights, loading location, destination and planned receiving date. Include any fragile, oversized, moisture-sensitive or specially regulated items so that the next review addresses the actual cargo.