
Send Your BOQ / Get a Quote

Engineered Wooden Flooring

Engineered Wooden Flooring for Commercial Projects

Coordinate plank construction, timber appearance, pattern, finish, subfloor conditions, installation method, samples and delivery batches around the project requirements.

Plank and pattern selection
Samples and batch references
Subfloor and installation inputs
Packing and room schedules
Wide plank engineered wooden flooring in a modern project interior

Flooring Formats

Start With the Required Appearance and Layout

Board size, pattern and finish affect room scale, material yield, installation sequence and the way natural variation appears across the floor.

Wide plank engineered wooden flooring with visible layered construction
Straight Lay

Wide Plank Flooring

Define plank width, length mix, timber appearance, grading direction and layout references for each project area.

Herringbone engineered wooden flooring pattern in an interior
Geometric Layouts

Herringbone and Chevron

Coordinate block size, left and right pieces, starting lines, border details and transitions before ordering quantities.
Engineered wooden flooring showing a matte surface finish
Surface Direction

Texture, Colour and Sheen

Compare colour, brushing, staining, surface texture and sheen using an approved physical sample.

Project Inputs

Information Needed for a Flooring Proposal

Separate product selection from site preparation. Both are required before confirming the flooring system and installation method.

01

Area Schedule

Room names, net areas, waste allowance, pattern, borders, stairs and transition locations.

02

Site Conditions

Subfloor type, flatness, moisture test plan, floor build-up, level changes and access conditions.

03

Design Direction

Species or visual reference, grade, colour, texture, sheen, board size and pattern.

04

Project Requirements

Use area, maintenance expectations, installation responsibility, target programme and project location.

Engineered wooden flooring diagram showing surface, wear layer, core and joint profile

Product Specification

Record the Complete Flooring Configuration

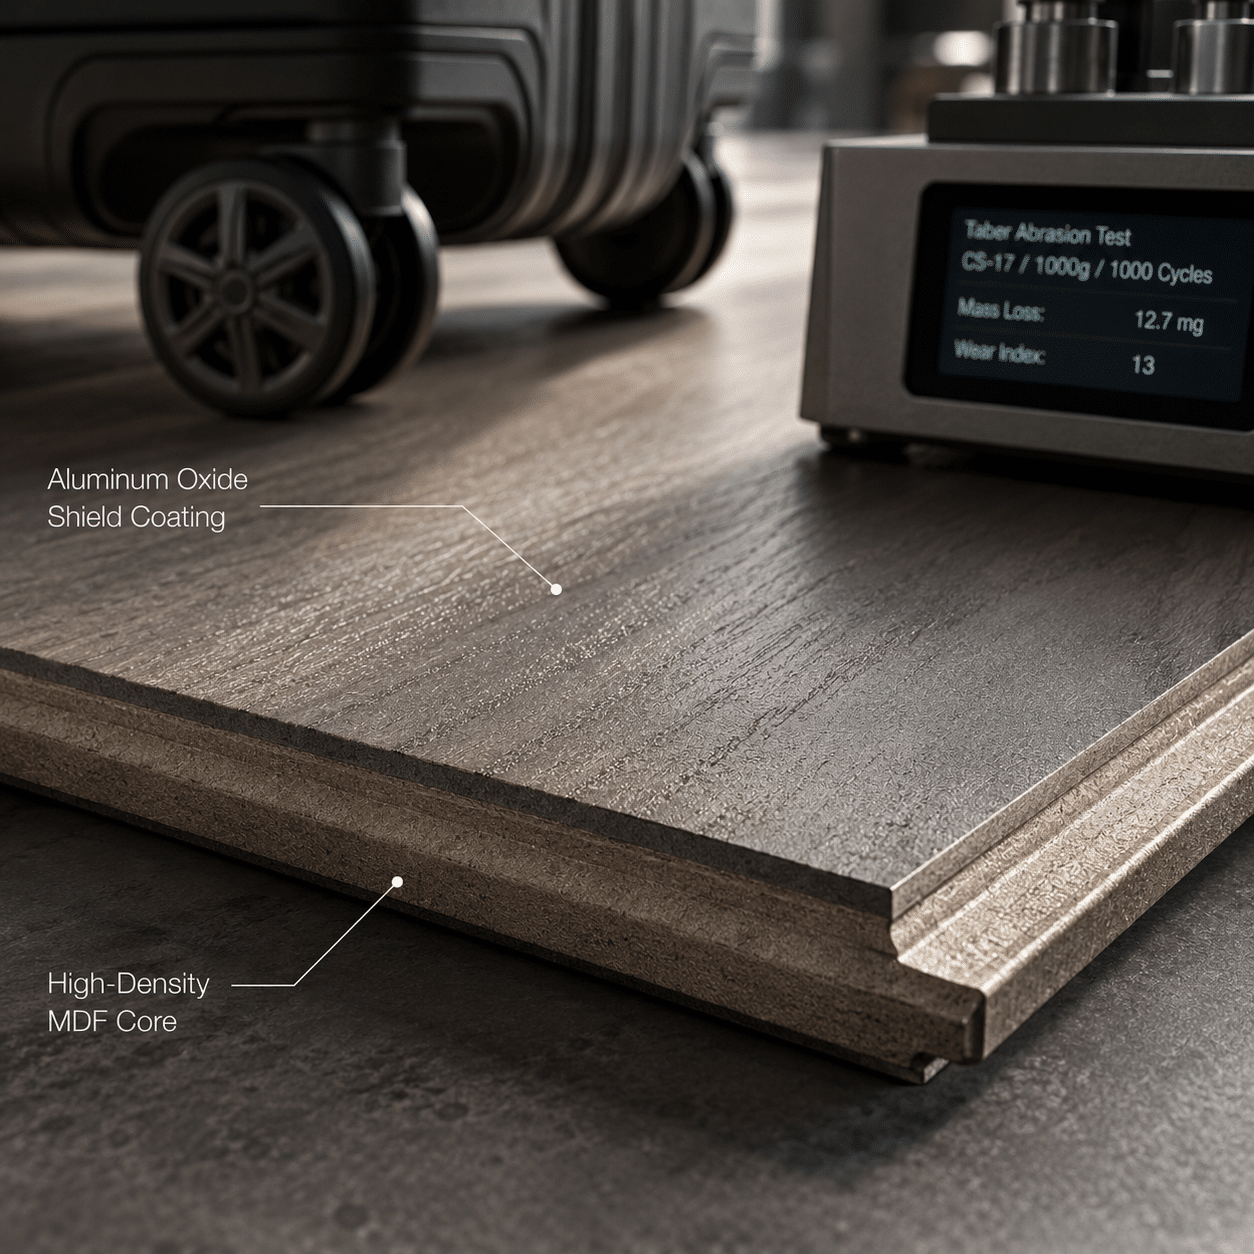
Performance and maintenance depend on the full product build-up. A species name or finish image alone does not identify the supplied floor.

  • Total thickness, wear-layer specification and core construction
  • Plank width, length mix, edge profile and joint type
  • Timber appearance, grade, knots and natural variation range
  • Surface texture, stain colour, sheen and finish system
  • Installation method, adhesive or underlay requirements
  • Product-specific test or certification documents when required

Subfloor & Installation

Confirm Site Conditions Before Selecting the Installation Method

The installer should evaluate the actual substrate, moisture conditions, levels, transitions and environmental controls against the selected product instructions.

01

Subfloor Type

Identify concrete, screed, timber or raised-floor construction and any levelling requirements.

02

Moisture and Climate

Plan suitable site testing, material acclimation and interior environmental control before installation.

03

Installation Method

Confirm glue-down, floating or mechanical methods against the product, substrate and project requirements.

04

Transitions and Interfaces

Resolve door thresholds, skirting, stairs, stone or tile junctions and adjacent finished floor levels.

Approval References

Manage Natural Variation With Samples and Batch Records

Wood varies naturally. Approval should define the intended overall character and an acceptable range rather than imply identical boards.

01 / Sample

Approve the Full Build-Up

Record the product construction, colour, texture, sheen, edge detail and reference code on the approved sample.

02 / Grade

Define the Visual Range

Clarify expected knots, sapwood, grain variation, filler and colour movement for the selected grade.

03 / Batch

Coordinate Areas and Deliveries

Link batch references, room schedules, package labels and retained samples for later comparison.

Flooring Workflow

From Area Schedule to Installation Reference

Each stage should use the latest approved area schedule, product specification, sample and site information.

01

Review the Scope

Organize areas, quantities, patterns, transitions, stairs and missing information.

02

Compare Options

Review construction, plank sizes, grades, finishes and installation methods.

03

Coordinate Interfaces

Resolve floor build-ups, levels, thresholds, skirting and adjacent materials.

04

Approve Samples

Record the selected product and accepted appearance or natural variation range.

05

Release and Inspect

Use approved references to review dimensions, labelling, finish and agreed documents.

06

Pack by Area

Coordinate batch labels, room schedules, accessories and installation references.

Pre-Shipment Review

Check the Approved Product and Batch References

Inspection criteria should match the exact flooring configuration and approved sample. Test values should only be published when the report applies to that product.

01

Dimensions

Review plank dimensions, thickness, joint profile and pattern components against the approved specification.

02

Appearance

Compare colour, texture, sheen, grade and visible variation with the approved reference.

03

Labels and Quantities

Check product codes, batch references, package quantities, accessories and area allocation.

04

Documentation

Confirm agreed datasheets, installation guidance and applicable test documents for the selected product.

Site Interface

Prepare the Site Before Flooring Installation

Flooring should remain packaged and protected until the site, substrate and environmental conditions meet the selected product and installation requirements.

  • Confirm enclosed and controlled interior conditions
  • Complete required subfloor moisture and flatness checks
  • Verify finished floor levels, transitions, stairs and skirting details
  • Keep product and batch labels linked to the area schedule
  • Follow product-specific storage, acclimation and installation instructions
  • Retain approved samples and record site variations before installation

Frequently Asked Questions

Engineered Wooden Flooring Project Questions

These answers provide general coordination guidance. Final suitability and performance depend on the selected product, tested configuration and actual site conditions.

What information is needed for a wooden flooring quotation?
Share the area schedule, net quantities, pattern, plank-size preference, finish reference, subfloor type, project location, installation responsibility and target timing.
What is the difference between wide plank, herringbone and chevron?
Wide planks generally follow a straight layout. Herringbone uses rectangular blocks in an interlocking pattern, while chevron uses angled ends to form continuous V-shaped lines. Each requires a different quantity and layout plan.
Can engineered flooring be used with underfloor heating?
Suitability must be confirmed for the exact flooring product, heating system, subfloor, installation method and operating conditions. Follow the relevant product and heating-system instructions.
How should flooring moisture conditions be checked?
The installer should use an appropriate test method for the actual subfloor and compare results with the flooring, adhesive or underlay requirements before installation.
How should a wooden flooring sample be approved?
Record the construction, timber appearance, grade, colour, texture, sheen, edge detail and reference code. Approval should also acknowledge the expected range of natural variation.
Can all boards match the sample exactly?
No. Natural wood varies in grain, tone and features. The sample should represent an approved direction and acceptable range rather than guarantee identical boards.
Which installation method should be used?
The method depends on the product, subfloor, floor build-up, project use and local installation requirements. Confirm the selected approach before ordering associated adhesives or underlays.
How is wooden flooring prepared for delivery and installation?
Packages can be labelled by product, batch and area, with accessories and installation guidance identified separately. Site readiness, storage, acclimation and installation responsibility should be confirmed before delivery.

Start the Flooring Review

Send Your Area Schedule and Finish References

Share room areas, patterns, plank preferences, finish images, subfloor information and target timing. The available information can be reviewed before the next quotation step.

Submit Project Details